ABS Filament Complete Guide: Print Settings, Troubleshooting, and Tips
ABS was the first 3D printing filament to hit the mainstream. It powered early Stratasys machines in the 1990s and became the default engineering plastic for desktop 3D printing for two decades. Today, with PLA and PETG dominating hobbyist use, ABS has a reputation as a "difficult" material. It isn't difficult — it just has requirements that PLA and PETG don't. If you have an enclosed printer and a heated bed, ABS produces stronger, more heat-resistant parts than either alternative, and it's the only common filament you can smooth with acetone vapor.
This guide covers everything you need to print ABS successfully: the right temperatures, how to control warping, what parts ABS is actually good for, and when you should reach for something else.
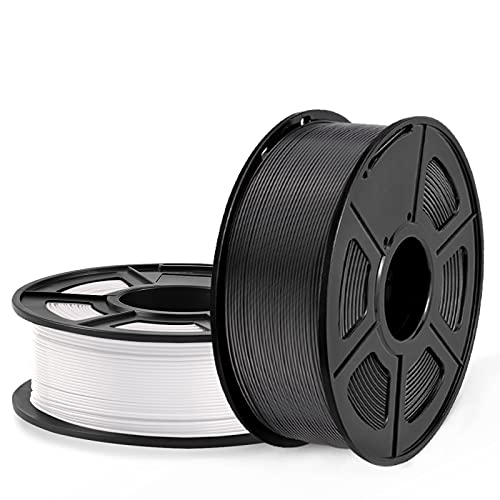
ABS filament spools. ABS is available in most major brands at $18–$30 per kg, slightly cheaper than PETG and more expensive than entry-level PLA.
What Is ABS, and Why Use It?
ABS stands for Acrylonitrile Butadiene Styrene. It's a terpolymer — three plastics combined into one. The styrene gives it stiffness and a glossy surface. The butadiene adds impact resistance. The acrylonitrile contributes heat and chemical resistance. Combined, you get a tough, slightly flexible plastic that survives drops, temperature swings, and repeated stress better than PLA.
For 3D printing, ABS has two properties that matter most:
Heat resistance. ABS softens around 105°C (glass transition temperature). PLA deforms at 55–60°C. This means ABS parts can sit in a car on a sunny day, live near a heater, or be used for functional brackets that get warm during operation. A PLA phone mount will warp in a hot car. An ABS one won't.
Post-processing potential. ABS dissolves in acetone. This lets you vapor-smooth printed parts — expose them to acetone fumes, and the surface melts slightly, welding layer lines into a glossy, injection-molded finish. No other common filament does this.
The trade-off: ABS emits fumes while printing, warps if the cooling is uneven, and requires an enclosed build chamber for reliable results.
Recommended ABS Print Settings
| Setting | Recommended Range | Notes |
|---|---|---|
| Nozzle temperature | 240–260°C | Start at 250°C. Higher for better layer bonding. |
| Bed temperature | 90–110°C | 100°C is the sweet spot for most ABS. |
| Enclosure temperature | 40–60°C (passive) | Heated chamber preferred for large parts. |
| Print speed | 40–80 mm/s | Start slow at 50 mm/s. High-speed ABS exists but needs calibration. |
| Layer height | 0.15–0.28 mm | 0.2 mm is standard. ABS layer lines smooth well with acetone. |
| Cooling fan | 0–10% | Off or nearly off. Fan cooling causes layer separation and warping. |
| Build plate | PEI, glass, or Garlock | Glue stick or hairspray helps on bare glass. |
| Retraction | 2–4 mm at 30–40 mm/s | ABS strings less than PETG but still needs tuned retraction. |
| First layer speed | 20–30 mm/s | Slow first layer improves bed adhesion. |
The single most important setting for ABS is the cooling fan. Turn it off. ABS needs to cool slowly and evenly. A fan blasting cold air on a part that was just 250°C creates thermal shock, which causes corners to lift and layers to separate. Most slicers default to 100% fan for the first few layers — override that. Keep the fan at 0% for the entire print, except for overhangs steeper than 60° where a brief fan burst helps prevent sagging.
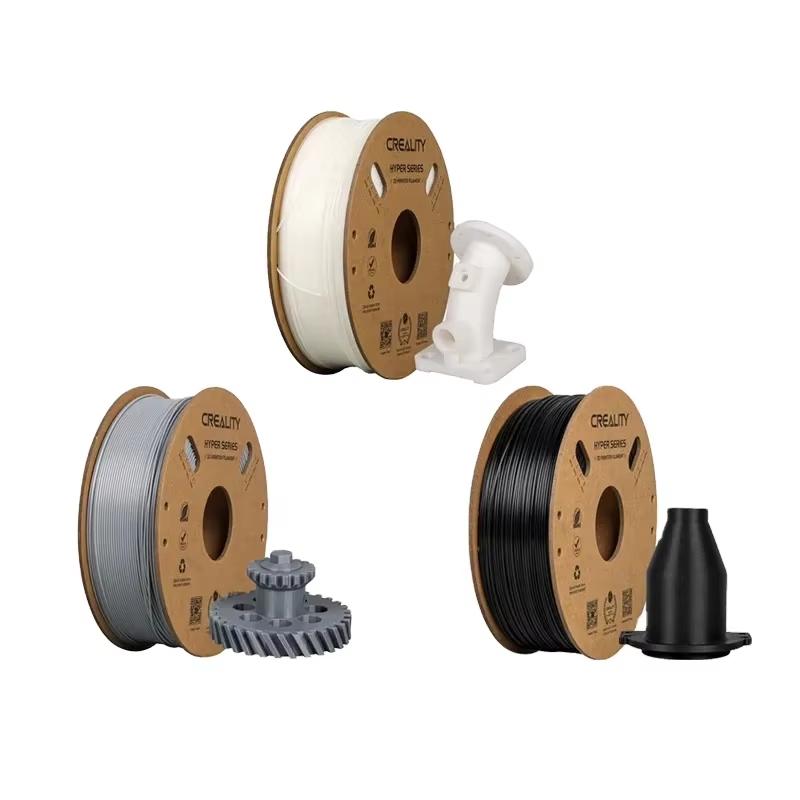
ABS printed parts — functional brackets, gears, and housings. ABS is the go-to material for mechanical parts that need toughness and heat resistance.
The Warping Problem (and How to Fix It)
ABS warps. This is the first thing every new ABS printer learns. The material contracts as it cools, and large, flat parts will curl at the corners until they lift off the bed. On an unenclosed printer, printing a 100mm ABS square without warping is a minor achievement.
Here's how to control it, in order of effectiveness:
Use an enclosure. This is non-negotiable for parts over 50mm. A cardboard box over the printer works as a cheap first attempt. A proper enclosure (acrylic panels, wooden box, or the printer's built-in enclosure) keeps ambient temperature warm, slows cooling, and eliminates most warping. If your printer has an active heated chamber (Bambu H2D, UltiMaker S5), this is even easier.
Print on a clean, well-leveled bed. ABS sticks best to PEI sheets and Garlock-style build surfaces at 100°C. Clean the bed with isopropyl alcohol before every print. If adhesion is weak, add a thin layer of glue stick (PVA) to the bed — it won't hurt the surface and makes ABS grip aggressively.
Use a brim. A 5–10mm brim anchors the part to the bed across a wider footprint. It's the fastest fix for corner lifting. Rims work too, but brims cover more area and are more reliable for large parts.
Keep the first few layers slow. Printing the first layer at 20–30 mm/s gives the plastic time to flow and bond to the bed. Rushing the first layer means poor adhesion regardless of temperature.
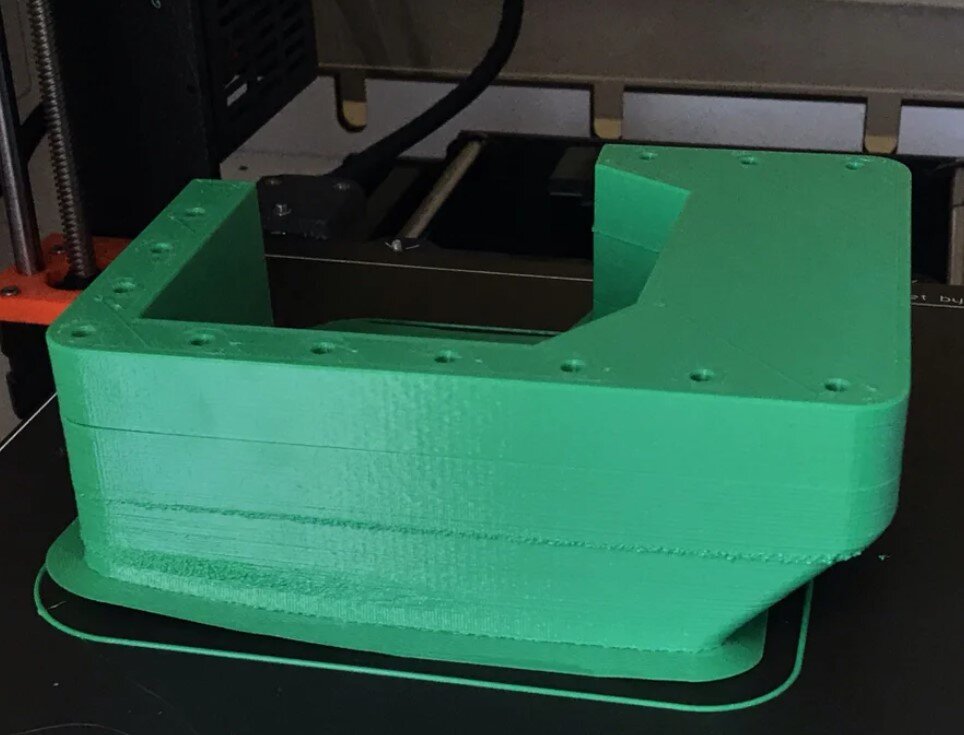
A warped ABS part without proper enclosure. The corners have lifted off the bed and layers are separating. This is the classic ABS warping failure — fixable with an enclosure, higher bed temp, and a brim.
ABS vs PLA vs PETG
| Property | ABS | PLA | PETG |
|---|---|---|---|
| Nozzle temp | 240–260°C | 190–220°C | 220–250°C |
| Bed temp | 90–110°C | 50–70°C | 70–85°C |
| Enclosure needed? | Yes (for reliable results) | No | Not required |
| Cooling fan | Off (0–10%) | On (50–100%) | On (30–50%) |
| Heat resistance (Tg) | ~105°C | ~55–60°C | ~80°C |
| Strength / toughness | Tough, impact-resistant | Stiff but brittle | Strong but flexible |
| Post-processing | Acetone vapor smoothing | Limited (sanding only) | Sanding, limited chemical smoothing |
| Fumes | Yes (styrene — ventilate) | Mild smell | Minimal |
| Ease of printing | Hard | Easy | Moderate |
| Cost per kg | $18–$30 | $15–$25 | $20–$35 |
The short version: PLA is easy but weak and heat-sensitive. PETG is versatile, moderately strong, and easy to print. ABS is the strongest of the three, handles heat best, and has unique post-processing options — but it demands an enclosure and ventilation. Choose ABS when the part needs to survive heat, stress, or chemical exposure. Choose PETG when you want strength without the enclosure requirement. Stick with PLA for decorative prints and prototypes.
Acetone Vapor Smoothing
This is ABS's party trick. When you expose a printed ABS part to acetone fumes, the surface layer dissolves slightly and flows. Layer lines disappear. The surface becomes glossy. Parts look like they came from an injection molding machine, not a 3D printer.
The process:
1. Place a small amount of acetone (about 30–50ml) in a glass jar or metal container inside a sealed enclosure. A large glass jar with a lid works well. You need enough acetone to create fumes but not so much that liquid touches the part.
2. Suspend the printed part above the acetone. Use a wire rack, a piece of aluminum foil with holes poked in it, or hang the part from a string. The part must not touch the liquid acetone — only the fumes.
3. Seal the container. Wait 10–30 minutes. Check every 10 minutes. Acetone smoothing is fast — overdo it and fine details will disappear or the part will deform.
4. Remove the part and let it air out in a well-ventilated area for several hours before handling.
Safety: Acetone is highly flammable and the fumes are toxic. Do this outside, in a garage, or under a fume hood. Keep it away from open flames. Wear nitrile gloves. Never do this in an enclosed living space.
Acetone smoothing works best on parts where surface finish matters — housings, enclosures, display pieces. It rounds sharp corners slightly and reduces fine texture. It's not suitable for parts with tight tolerances or delicate features that need to remain crisp.
What to Print with ABS
ABS excels at functional parts that need to survive real-world conditions:
Electronic enclosures. ABS handles the heat from electronics better than PLA. It also takes screws and heat-set inserts well. Raspberry Pi cases, Arduino housings, and sensor enclosures are classic ABS applications.
Under-hood automotive parts. Interior trim, phone mounts, and bracket replacements that sit in a car — PLA softens in heat, ABS doesn't. Just don't print parts that touch the engine block directly.
Mechanical brackets and mounts. ABS's impact resistance makes it better than PETG for parts that take repeated loads. Tool holders, wall mounts, and shelf brackets all benefit from ABS's toughness.
Outdoor applications. Regular ABS is not UV-stable and will yellow in direct sunlight. For outdoor use, choose ASA instead — it's the UV-resistant cousin of ABS with nearly identical print settings. See our ASA vs ABS guide for details.
Acetone-finished display parts. Anything you want to look injection-molded: lamp housings, consumer electronics casings, prototype enclosures for client presentations.
Common ABS Problems and Fixes
| Problem | Cause | Fix |
|---|---|---|
| Warping / corners lifting | Cooling too fast, no enclosure | Add enclosure, raise bed to 105°C, use brim, turn fan off |
| Layer separation | Nozzle too cold, fan on, humidity | Raise nozzle to 255–260°C, dry filament, turn fan to 0% |
| Stringing | Retraction too low | Increase retraction to 3–4mm, reduce travel speed |
| Smell / fumes | Normal for ABS | Ventilate, use enclosure with exhaust, consider ASA for milder fumes |
| Poor bed adhesion | Dirty bed, bed too cold | Clean with IPA, raise bed temp to 105°C, add glue stick |
| Bubbles / popping | Wet filament | Dry at 65°C for 4–6 hours before printing |
| Weak layer bonding | Nozzle too cold, print speed too fast | Raise nozzle temp, slow print speed to 40–50 mm/s |
Drying and Storage
ABS absorbs moisture from the air, just like PETG and nylon. Wet ABS makes a popping or crackling sound as it extrudes. The parts come out with a rough surface, bubbles, and reduced strength. Drying is simple: bake the spool in a filament dryer or oven at 65°C for 4–6 hours. Store ABS in a dry box with desiccant between prints. In humid climates (above 60% RH), dry every spool before first use regardless of the manufacturer's drying recommendation.
Brands Worth Trying
Most major filament brands make ABS. Quality varies less than with specialty materials, but a few stand out. Polymaker PolyLite ABS is consistent and easy to print. eSUN ABS+ is a modified ABS that warps less and smells less — a good first ABS for beginners. Sunlu ABS is a budget option that performs reliably at $18–$22 per kg. For high-speed printing, Creality Hyper ABS and eSUN eABS Pro are tuned for 300+ mm/s with fast-profile printers.