PETG Filament: The Complete Guide for 3D Printing
PETG is the workhorse of 3D printing materials. It sits between PLA and ABS in almost every category — easier to print than ABS, stronger and more durable than PLA. It is food-safe (in its virgin form), UV-resistant, and chemically stable. For functional parts, PETG is often the best choice for hobbyists and small businesses alike.
But PETG has a reputation for being finicky. Stringing, oozing, layer separation, and bed adhesion issues are common complaints. Most of these problems come from treating PETG like PLA. This guide covers what PETG actually is, how to print it well, and how to fix the problems that come up.
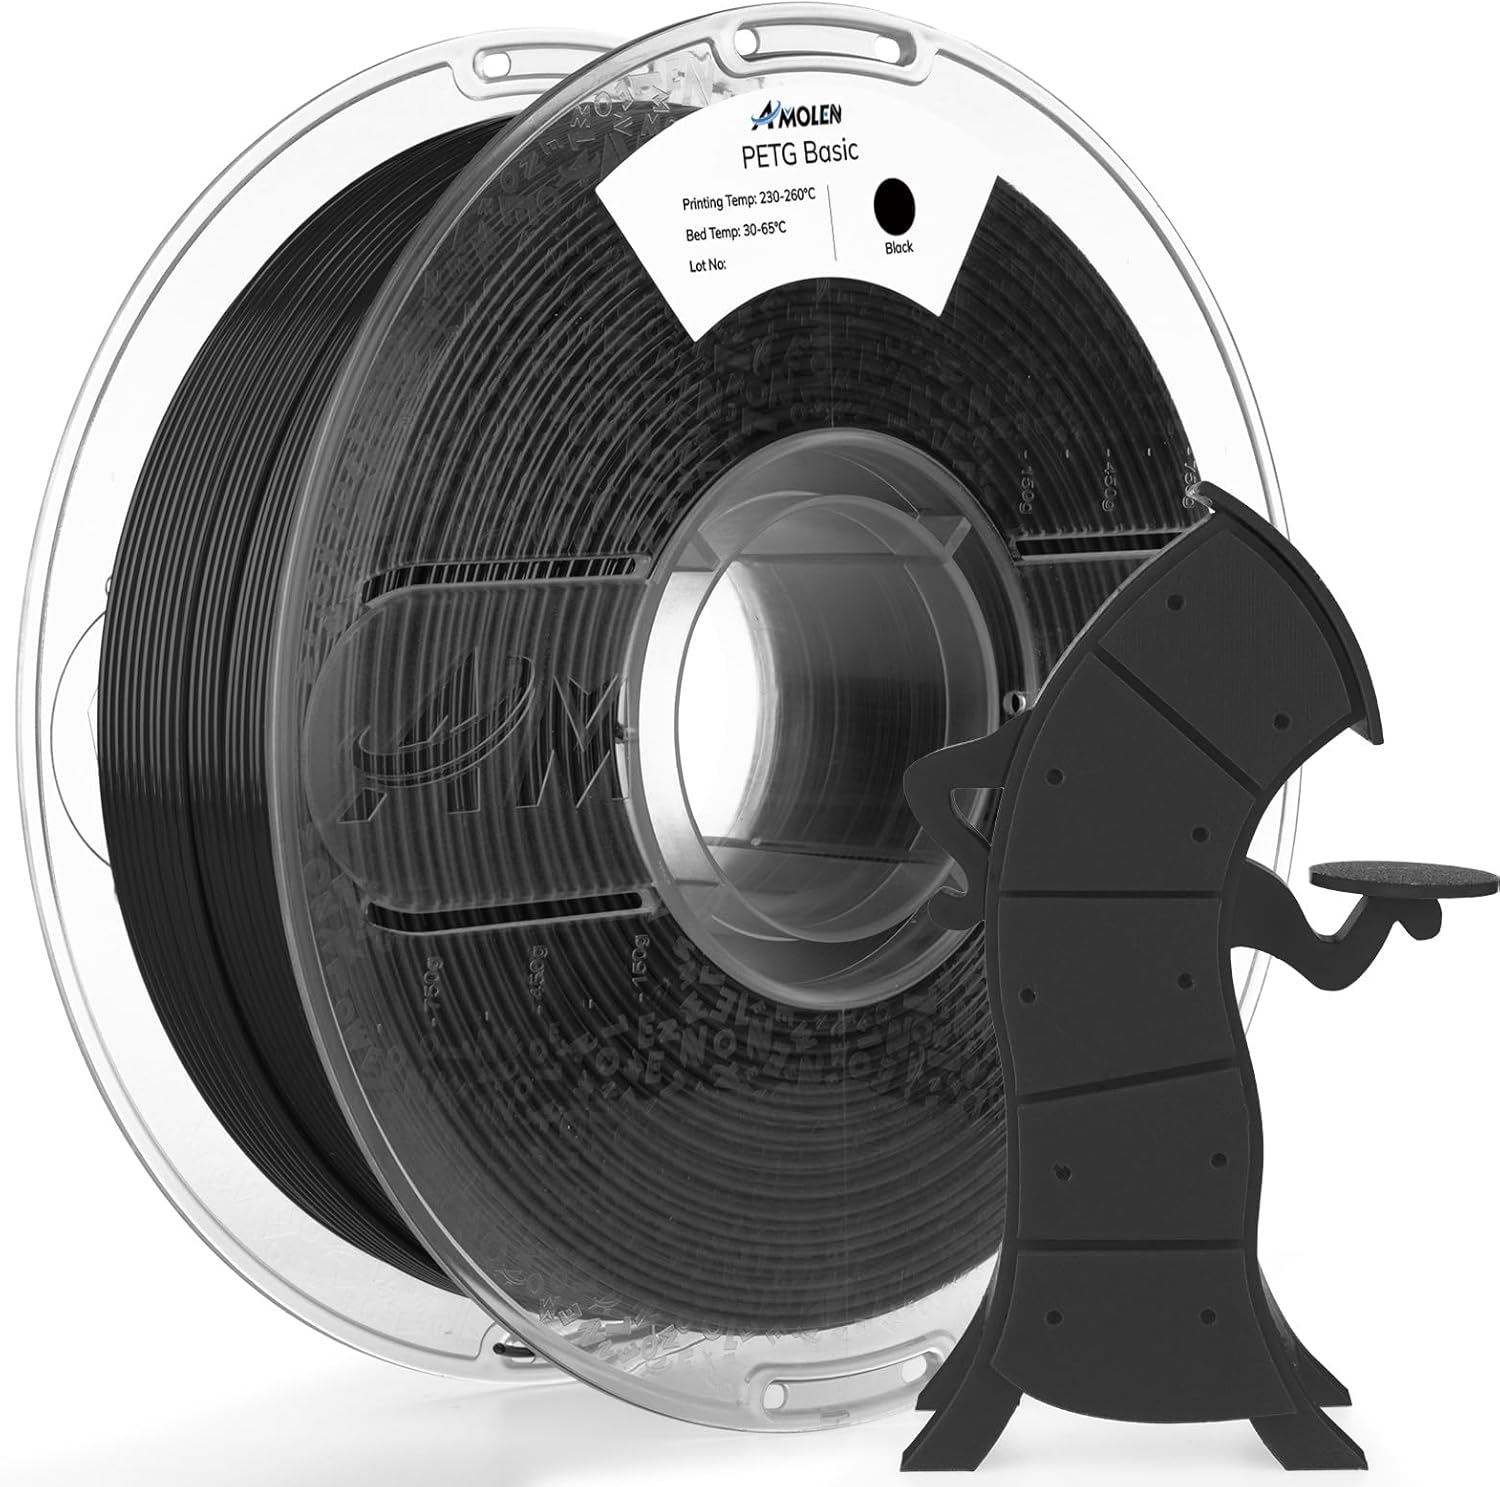
PETG (Polyethylene Terephthalate Glycol-modified) is a durable, impact-resistant material that bridges the gap between PLA and ABS.
What Is PETG?
PETG stands for Polyethylene Terephthalate Glycol-modified. It is a variation of PET — the same plastic used in water bottles and food packaging — with glycol added to reduce brittleness and improve printability.
The addition of glycol changes PET's properties in useful ways. Standard PET is crystalline and prone to warping when 3D printed. PETG is amorphous, which means it cools without forming large crystal structures. That reduces warping and makes it printable on an unheated or lightly heated bed.
PETG vs PLA vs ABS
| Property | PLA | PETG | ABS |
|---|---|---|---|
| Nozzle temp | 190–220°C | 220–250°C | 240–270°C |
| Bed temp | 0–60°C | 60–80°C | 90–110°C |
| Enclosure needed | No | No | Recommended |
| Tensile strength | ~50 MPa | ~50 MPa | ~40 MPa |
| Impact resistance | Low (brittle) | High | Medium |
| Heat resistance | ~60°C | ~80°C | ~100°C |
| UV resistance | Poor | Good | Poor |
| Food safe | Yes (virgin) | Yes (virgin) | No |
| Difficulty | Easy | Moderate | Hard |
The short version: PLA is easiest but weak and heat-sensitive. ABS is strongest and most heat-resistant but requires an enclosure and emits fumes. PETG gives you most of ABS's durability with PLA's ease of printing — with a few quirks.
Optimal Print Settings
These settings work for most PETG filaments on most printers. Your specific brand may need slight adjustments.
| Setting | Recommended Value | Notes |
|---|---|---|
| Nozzle temperature | 230–240°C | Start at 235°C; adjust for stringing |
| Bed temperature | 70–80°C | 60°C minimum; 80°C for first layer |
| Print speed | 40–60 mm/s | Slower than PLA; PETG needs time to flow |
| Cooling fan | 30–50% | Too much fan causes layer separation |
| Retraction distance | 2–4 mm (direct) | 6–8 mm (Bowden); PETG strings easily |
| Retraction speed | 30–50 mm/s | Faster retraction reduces stringing |
| Layer height | 0.16–0.24 mm | 0.2 mm is a good default |
| Infill | 15–20% | PETG is dense; less infill needed for strength |
Common PETG Problems and Fixes
Stringing and Oozing
PETG is notorious for stringing — those thin webs of plastic between features. This happens because PETG has a low melting point and stays molten longer than PLA. When the print head moves, molten filament drips out of the nozzle.
Fixes: Increase retraction distance by 1–2 mm. Increase retraction speed. Lower nozzle temperature by 5°C. Enable coasting in your slicer. Use a direct drive extruder if you have one — Bowden setups struggle more with PETG stringing.
Layer Separation
PETG layers can separate if the cooling fan is too high or the nozzle temperature is too low. Unlike PLA, PETG benefits from reduced cooling because it needs time to bond between layers.
Fixes: Reduce fan to 30–50%. Increase nozzle temperature to 235–245°C. Slow down print speed to 40–50 mm/s. Ensure the bed is at 70–80°C to keep the part warm during printing.
Bed Adhesion Problems
PETG can be tricky to get to stick — and once it sticks, it can be hard to remove. It is known for "welding" itself to glass beds, sometimes taking chunks of glass with it.
Fixes: Use a PEI sheet or textured build plate — PETG sticks well to PEI and releases cleanly when cool. If using glass, apply a thin layer of hairspray or glue stick. Never print PETG directly on bare glass at high temperatures; it can fuse permanently. Bed temp 70–80°C for the first layer, then drop to 60°C for the rest.
Blobbs and Zits
PETG oozes during travel moves, leaving small blobs on the print surface. This is related to stringing but manifests as raised spots rather than thin strands.
Fixes: Enable retraction and coasting. Use "wipe while retracting" if your slicer supports it. Lower nozzle temperature slightly. Increase travel speed to minimize time spent moving over the print.
Best PETG Filament Brands
Not all PETG is created equal. Budget PETG often has wider diameter tolerance, more moisture absorption, and more color inconsistency. Here are reliable options across price ranges.
Budget: SUNLU PETG, eSUN PETG, Overture PETG — all around $20–25/kg. Good quality for the price, may need slightly higher temperatures.
Mid-range: Hatchbox PETG, Prusament PETG, Polymaker PolyLite PETG — $25–35/kg. Consistent diameter, good color selection, reliable printing.
Premium: Bambu Lab PETG, Fillamentum PETG, ColorFabb PETG — $35–50/kg. Engineered for specific printers, excellent layer bonding, minimal stringing.
Drying PETG
PETG is hygroscopic — it absorbs moisture from the air. Wet PETG pops and crackles while printing, produces stringy or bubbly output, and has reduced layer bonding. If your spool has been open for more than a few weeks in a humid climate, dry it.
Dry at 60–65°C for 4–6 hours in a filament dryer or conventional oven (use an oven thermometer — oven thermostats are often inaccurate). Store in an airtight container with desiccant after drying.
PETG Variants: PETG+ vs PETG-CF vs Standard
Not all PETG is the same. Manufacturers offer modified variants with different properties:
| Variant | Properties | Best For | Print Temp |
|---|---|---|---|
| Standard PETG | Balanced strength, clarity, ease of printing | General purpose, functional parts | 220–245°C |
| PETG+ / PETG Pro | Higher impact resistance, better layer bonding | Durable parts, mechanical components | 225–250°C |
| PETG-CF (carbon fiber) | Stiffer, more dimensionally stable, matte finish | Rigid parts, frames, brackets | 230–255°C (hardened nozzle) |
| PETG-Silk / Silk | Shiny, silky surface finish | Decorative parts, cosplay, art | 215–235°C |
| Transparent PETG | High clarity, light transmission | Light covers, lenses, displays | 230–250°C (slow speed) |
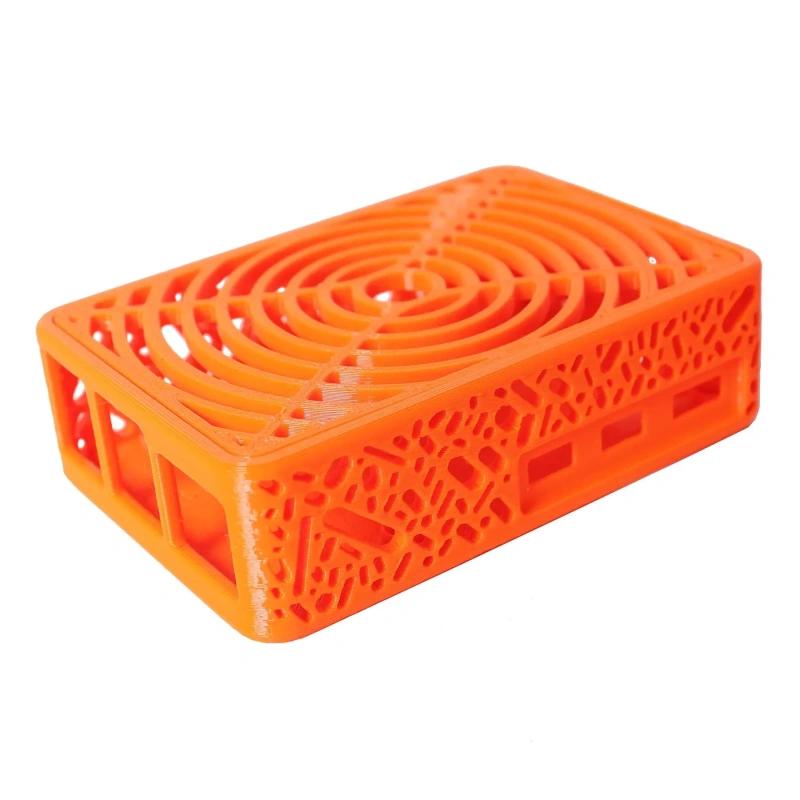
A functional PETG-printed Raspberry Pi case. PETG's durability and heat resistance make it ideal for electronics enclosures.
PETG-CF requires a hardened steel nozzle — standard brass nozzles will wear out quickly from the abrasive carbon fiber. It also tends to be more brittle than standard PETG, so it is not ideal for parts that need to flex.
PETG Post-Processing
PETG responds well to several post-processing techniques:
Sanding and polishing: PETG sands well. Start with 200-grit sandpaper and work up to 2000-grit for a smooth finish. For glossy parts, follow with a plastic polish or Novus 2.
Chemical smoothing: Unlike ABS (which can be vapor-smoothed with acetone), PETG does not respond to common solvents. Tetrahydrofuran (THF) can smooth PETG but is toxic and requires proper ventilation. For most users, sanding is the safer option.
Painting: PETG has a slightly oily surface that paint does not always adhere to. Lightly sand the surface first, then apply a plastic primer (like Krylon Fusion for Plastic) before painting.
Glue and assembly: Cyanoacrylate (super glue) works well on PETG. For stronger bonds, use a plastic cement designed for PETG or rough up the bonding surfaces with sandpaper first.
When Not to Use PETG
PETG is not perfect. Skip it for:
- Very high-temperature applications (above 80°C) — use ABS, ASA, or PC instead.
- Ultra-fine detail or miniatures — PETG's oozing makes fine details harder; resin or PLA is better.
- Bridging and overhangs — PETG sags more than PLA with cooling; use supports generously.
- Food contact with printed parts — while virgin PETG is food-safe, 3D printed parts have layer gaps that harbor bacteria. Use a food-safe coating or avoid direct food contact.