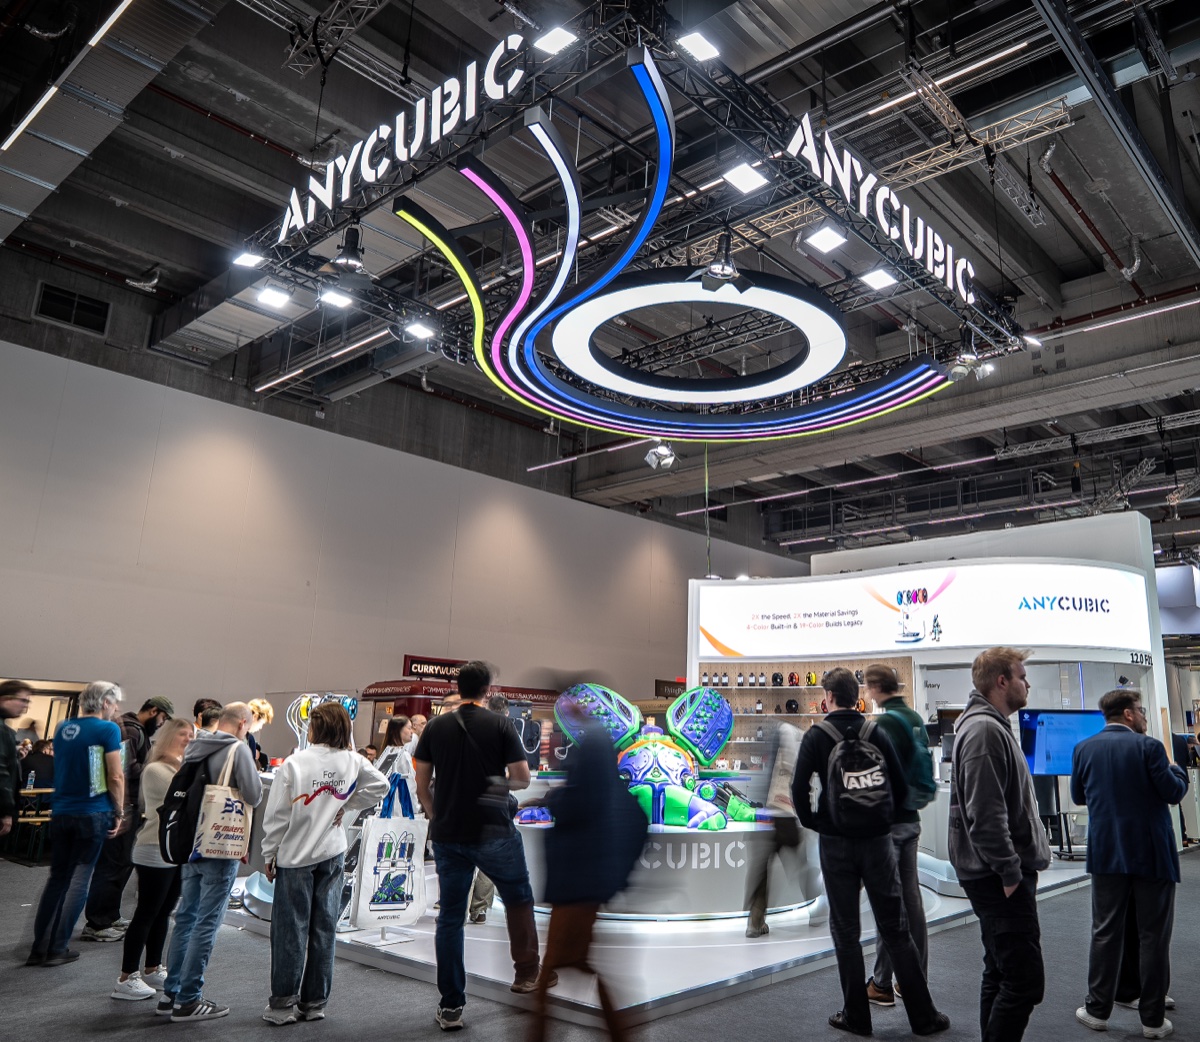
Anycubic AnyLab can turn a reference photo into a 3D model, according to its live Makeronline interface and Anycubic’s Formnext demonstration. Whether you can print that model depends on what it generates, how you can export it, and what survives slicing at the size you want. A pet figurine with a chunky silhouette is a sensible first project. A replacement knob that has to fit an existing shaft calls for measurements and CAD.
For a small print shop, AnyLab’s appeal is the chance to get from a customer’s photo to a draft you can review without sculpting the entire object by hand. The value depends on how much cleanup the draft needs, whether the customer accepts the likeness, and whether you can reproduce the result at a predictable cost.
Review scope. We checked AnyLab’s public interface and Anycubic’s documentation on November 21, 2026. The service led to Anycubic sign-in. Our check stopped there, so generation, export, slicing and physical print results remain unverified. The examples below show how we would evaluate a model for production.
What the AnyLab workspace offers today
The Model tab accepts a main reference image and offers slots for left, back and right views. Our public session showed Tripo V3.1 as the selected model, three quality settings and an option to generate textures. The separate Image tab takes an image or description, and the Playground includes guided tools such as Photo to Figure and Pet Keychain. These entry points suit different jobs. Start with Model for a general object and use a guided template when its examples match the product you want. AnyLab tools
Anycubic’s Formnext announcement described generation from reference images or text and said it was developing a workflow that includes printability checks, print preparation and job submission. It also described future improvements to orientation, supports and settings for the chosen printer and material. The public workspace exposes generation controls. We could not confirm how much of the announced preparation workflow is available after sign-in or which printers it covers. Anycubic’s Formnext announcement
Give the generator a clear subject
A head-on photo can describe the front of a cat bust quite well. It contains less information about the shape of the back, the depth of the chest or what the ears look like from the side. The generator fills in missing surfaces. That is acceptable for a stylized keepsake if the customer likes the result. The same uncertainty is expensive when the back has to match an original object or sit flush against another part.
Start with a well-lit photo of one clearly defined subject. Keep the entire silhouette in frame and use a plain background that contrasts with the object. If you can photograph additional sides, keep the object, pose and lighting consistent. Changes in pose or wide-angle distortion can make two reference photos disagree. For a pet that moves between shots, pick a clean main photo and add other views only when they clarify the same shape.
For the first trial, run one image and then a set of consistent views while holding the quality and texture settings constant. Compare the silhouette, hidden surfaces and any feature the customer cares about. A smooth back that looks nothing like the reference is more consequential than a stray texture mark. If a second attempt changes a feature you already approved, save the earlier version so you can compare them side by side.
What the quality and texture settings can tell you
The Model tab lets you choose Low, Medium or High quality before generation. The names give you a comparison to make. For a small ornament, start with Medium, then run one comparison at the higher setting using the same inputs. Compare the profile of the nose, the space between the legs and the edges of any markings that need physical depth. Record any change in credits and turnaround. A visually busier result can cost more time to repair without gaining any printable detail at the intended size.
Run a version with texture disabled if your goal is an unpainted part. You can also use a neutral material view in a mesh editor if a compatible download is available. Seeing both versions helps you identify details carried entirely by color. If the version without texture shows a clear likeness from the front and side, decide whether color changes would add enough value to justify the printing and finishing time.
What makes the result printable?
| Check | What you want to see | When to revise it |
|---|---|---|
| Likeness | Recognizable silhouette and key features from several angles | The nose, posture or back disagrees with important reference views |
| Geometry | A closed volume with the intended number of connected parts | Holes, intersecting surfaces or stray shells alter the sliced shape |
| Size | Features survive at the finished dimensions | Thin details disappear or the part imports at an unexpected scale |
| Orientation | Reliable contact or feasible supports, with visible surfaces protected | Support removal will damage details or take too much labor |
| Production | A proof print that looks right, holds up to handling and meets the quote | The part is fragile, slow to finish or inconsistent across prints |
Rotate the mesh before you spend time on color. The underside is a useful place to start. Check whether the feet share a plane and whether the piece has enough contact area to stand. Look for disconnected fur tufts or accessories, especially when a sharp boundary in the photo may have been interpreted as a separate object. A mesh repair function may close holes and still leave the model with a weak tail or an unstable base. Prusa’s guide to repairing models
Next, set the final physical size before judging facial detail, lettering or the thickness of an attachment loop. Review the sliced layers to see which paths your printer will actually lay down. A fur ridge that reads clearly under digital lighting may disappear when it is smaller than a printable line. Scale can also affect fit and durability. Enlarging the subject to rescue its detail changes the size and material bill for the whole order. Prusa’s guide to designing printable features
When to regenerate, repair or draw it in CAD
Regenerate when the draft has misunderstood the subject. A missing side of a helmet or two paws that blend together may call for a better reference angle. Try changing one thing at a time so you know whether a new photo, a quality setting or a different template made the difference. Compare it to the accepted front view before you discard the earlier draft.
Repair when the likeness works and the remaining changes are specific. Flatten a base, remove a detached speck or give an attachment point a thicker connection. Save the original file before making changes. If the slicer reports it has fixed the mesh, inspect the layer preview around the repaired area. A closed surface can still be the wrong shape.
Use CAD for the surfaces that must fit. If you want a photo-derived pet bust to sit on a standard nameplate, make the nameplate to known dimensions and test the interface independently. Once the base fits, you can reuse it for the next order and spend the custom modeling time on the figure itself. On a functioning part, verify dimensions on the finished print because toolpath and material can change the fit.
Export, texture and multicolor printing
Check the model’s actual download options in your account before promising a file to a customer. The public Multi-Color Print tab lists GLB, FBX, OBJ, glTF and STL as uploads for that separate tool. Our public check did not establish which formats the Model or Playground tools can export, whether downloads consume credits, or whether the output can carry color into your slicer. If local editing matters to your business, make sure you can download a compatible file, reopen it independently and preserve the scale. AnyLab’s public tools page
STL carries surface geometry. A texture can make a digital model look like a spotted dog while leaving a plain surface in a single-color print. Look at the mesh without its texture to see what the eyes, nose and markings contribute to the shape. If the dark patch is central to the likeness, plan for painting, separate materials, or another way to reproduce it consistently.
Think of printable color as a separate approval step. Import the file into the slicer you intend to use. Verify the filament assignments and zoom in on boundaries around eyes, collars and lettering. Run the slice and check the estimated swaps, job duration and purge material. Tiny scattered color patches can make a small print surprisingly time-consuming. Anycubic’s separate Thingiverse initiative involves preparing selected library models as compatible multicolor 3MF files. Check the capabilities of the actual download you get from AnyLab for each project. Anycubic’s overview of the two projects
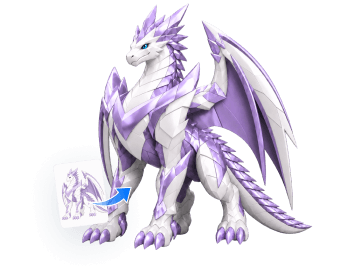
Photo to Figure and Pet Keychain
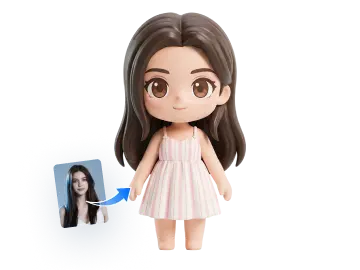
Photo to Figure is a reasonable starting point for a desk figurine when the customer wants a recognizable, stylized portrait. Agree on what they expect to recognize in an unpainted print. Hair silhouette, glasses and posture often carry more of the resemblance than skin tone or clothing texture. If you see thin glasses frames, strands of hair or fingers with little support from the body, check which details survive your target size.
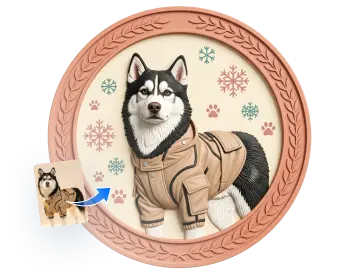
A keychain has a different acceptance test. It needs to read clearly at a glance, survive pockets and bags, and fit the actual hardware. Check the hole after slicing and test it with the split ring you intend to ship. Pay attention to the join between the loop and the main body. A slim loop that looks proportionate in the render can be the weakest part of a finished print. If you can edit the model, a simple thick backing with a reinforced hole is easier to standardize across customer photos.
If a client wants a photo gift with shallow detail for wall display, decide up front whether they want a sculpted relief or a backlit photo. A backlit print uses thickness to control how light passes through it. Anycubic documents a separate 3D Photo workflow for that type of project. Choose the process that matches what the customer expects to see and how the finished piece will be displayed. Anycubic’s 3D Photo guide
How to evaluate the same model on FDM and resin
For FDM, start with the printer, nozzle and material profile you intend to run. Check bed contact and preview a few plausible orientations. Look at the first layers under each paw or foot and at the start of overhanging features such as the chin. Rotate the model to keep support contact away from a prominent face if feasible. If the supports make a small fragile part hard to remove, consider modifying the shape or separating the base.
For resin, look for islands that start without a connection to a supported layer. Rotate and add supports in the resin slicer with the visible surfaces in mind. If you decide to hollow a model, plan drainage and cleaning as part of preparation. Supports and hollowing affect the proof print and finishing time. Compare the quality of a finished sample after support removal and cleanup before deciding which process to quote. Anycubic’s resin troubleshooting guide
For a fair comparison, start both slicers at the same final height and record the time to an acceptable piece, including setup, support removal and finishing. Photograph the finished pieces in the same light. A resin sample may retain more of the face at a small size, while a larger FDM print may be easier to handle and finish. Price the version you can deliver reliably, using the total work for that version.
What it could cost to sell a photo-based print
Time a complete first order, from checking the photo through packing the proofed product. For a hypothetical pet keepsake, assume 8 minutes for intake and generation setup, 18 minutes for selecting and repairing the mesh, 7 minutes for slicing and 7 minutes for cleanup. At $24 per hour, that is $16 in labor. Add $2 of material, a $1.50 machine allowance and $1.50 of packaging. Direct cost is $21 before generation charges, failed prints, selling fees, shipping, overhead and taxes.
If a revised photo requires another 20 minutes, the labor adds $8. Even a low generation charge has little effect if approvals and repairs consume most of the order value. Offer customers a proof and define what changes are included in the quote. Keep an approved file, saved slicer project and final dimensions for reorders. Retaining that production setup also lets you reprint if the generator or pricing changes. 3D printing cost breakdown
Check the service’s rules before you build an order form around it. Anycubic’s published AI modeling terms call for manual inspection and defect correction before using the model for production. They also specify keeping the service’s AI markings and disclosing AI generation when distributing generated content. For customer work, confirm permission to send the photo to a cloud service, check the applicable terms for selling the finished item or sharing the file, and get approval for any public portfolio use separately. We could not verify the account-specific charges or usage limits. Anycubic terms, section 24.6
A first test before you take an order
- Pick a simple subject. Use your own photo of a compact figurine or ornament. Save the source photo and decide what details need to be recognizable.
- Compare inputs. Try the main view by itself, then use the same settings with additional consistent angles if available. Record the time and any credits used.
- Inspect and slice. Export a compatible file, record its dimensions and check for stray shells. Slice at your intended size and save the preview, support estimates and material estimate.
- Make and finish a proof. Record machine time, cleanup minutes and any failed attempts. If the product has a loop or needs to stand, handle it the way a customer will.
- Decide what to sell. Repeat the proof with another photo and see whether the cost and quality stay within the same range. Use that range to plan your price and delivery time.
Verdict
Try AnyLab first for decorative products where a stylized likeness is acceptable and the shape can be made thick and easy to support. The model tab’s extra views are especially useful when the back or sides matter and you can supply good references. For a part that has to mate with something else, take measurements and build it in CAD. For a faithful copy of a physical object, consider a scanning workflow with a way to calibrate scale.
For a print business, the purchase decision is about the time from usable photo to an approved physical sample. Measure that time and include the redo rate. If the model exports cleanly, the key details survive slicing, and the proof earns the customer’s approval, AnyLab could make personalized orders easier to offer. A preview gives you enough to start that test.