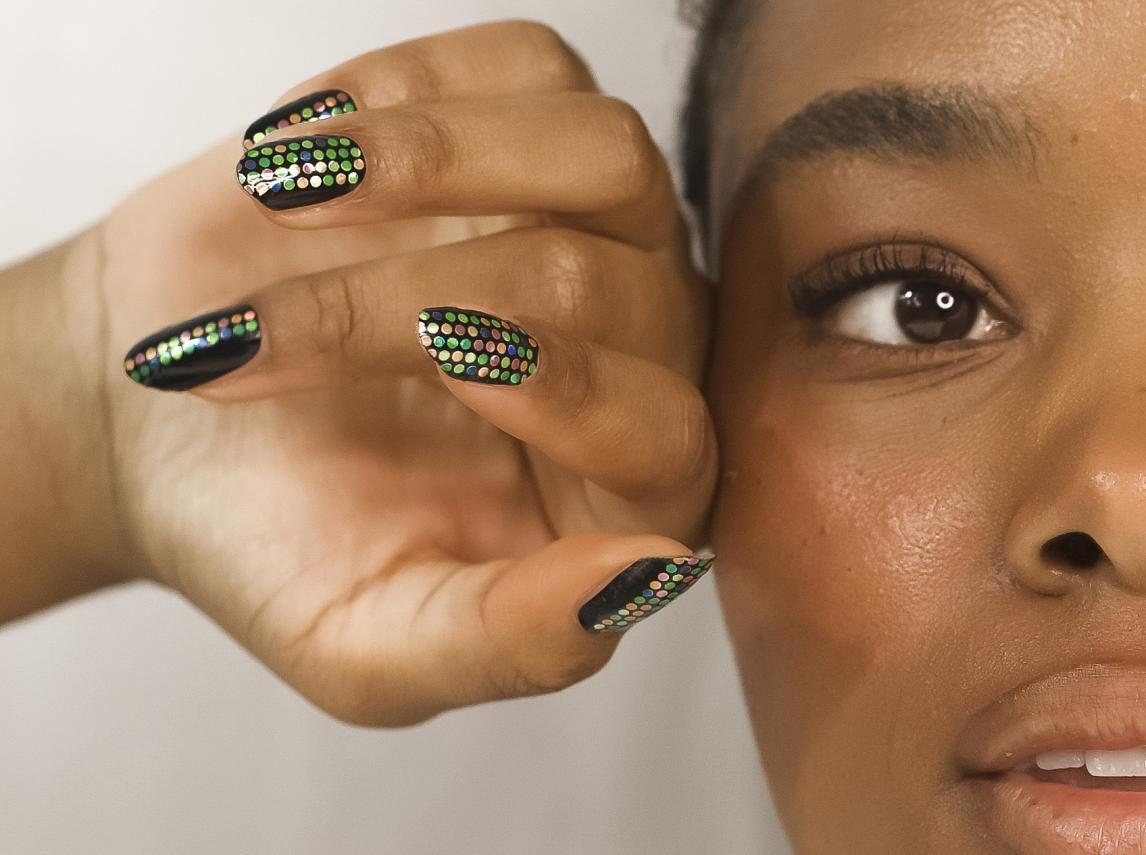
Walk into almost any nail supply show in 2026 and the word "3D" is everywhere. Raised chrome bubbles, embossed lace, sculpted charms, and full press-on sets advertised as "3D printed." The marketing is loud. The reality is messier — and more interesting.
Most of what gets labeled "3D nails" online is not 3D printed at all. It is gel or acrylic sculpted by hand, or a flat inkjet print on a nail tip. True 3D printing for nails is a smaller, more specialized category, and it is finally at a price point where a solo tech or a small studio can try it without taking on debt. This is an operator's read on the process, the cost math, the market, and the risks — written for working nail techs and nail lovers who want to know what is real.
1. Sort Out the Terminology Before You Spend a Dollar
Three very different technologies all get called "3D nails" in marketing copy. Conflating them is the fastest way to buy the wrong machine.
The 2D nail printer is an inkjet, not a factory. Desktop machines such as the Hostest X11 print a flat color image onto a pre-made nail tip. They are fast, cheap to run, and great for photo-realistic art — but they do not build height or texture. If you want raised chrome bubbles or a sculpted bow, a 2D printer cannot do it.
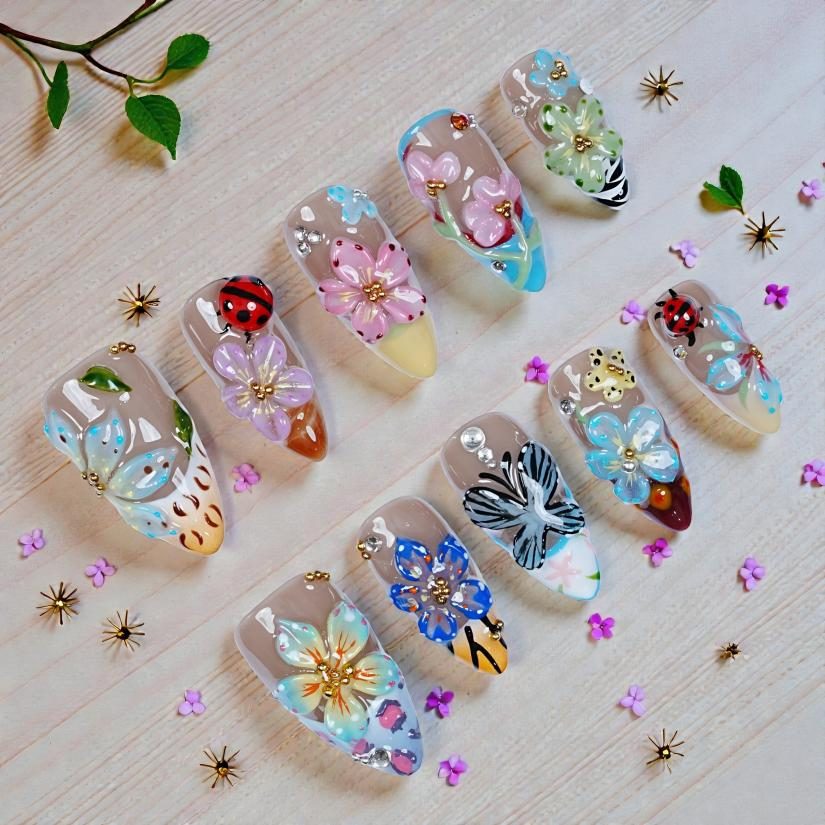
Hand-sculpted 3D gel and acrylic is craft, not printing. The raised flowers, bows, bubbles, and charms that dominate 2026 Instagram nail feeds are almost always built by hand with gel or acrylic. This is skilled labor, and it is not going anywhere — but it is not 3D printing, and it does not scale the way a printed part does.
True 3D printing builds the part in layers, and it runs on three realistic hardware tracks:
- Desktop resin (MSLA/SLA/DLP). An LCD mask shines UV light through a layer of liquid photopolymer, curing one thin slice at a time. This is the $150–400 entry point and the track most small studios will use.
- Industrial PolyJet and full-color powder printers. A Stratasys Objet Connex can jet multiple materials and colors in one print, but these machines cost $50,000+ and belong in production facilities, not salons.
- Scan-to-fit customization. A photo or 3D scan of the client's hand is processed by computer vision that outlines each nail bed, then generates a fitted tip model. This is the high-end service path.
2. How the Process Actually Works, Step by Step
Direct printing of a nail piece follows a fixed chain, and understanding each stage tells you where your labor — and your margin — actually goes.
Model. You start with a 3D file: either a nail shape from a parametric library you build over time, a sculpted charm designed in ZBrush or Blender, or a scan-fitted model generated from a client photo. This is the step that takes the most skill and the most time when you are starting out.
Slice and nest. Slicing software orients the parts, adds tiny support structures, and packs them onto the build plate. The nesting matters — a single plate can hold 30–60 nail tips or charms, and that density is what makes per-unit cost trivial.
Print. The machine cures layer after layer. A plate of small nail parts commonly takes one to three hours and can run unattended overnight. This is the big advantage over hand sculpting: the machine works while you sleep.
Wash and post-cure. Parts come off coated in uncured resin. They are washed in isopropyl alcohol (or a water-wash cycle, depending on the resin), then post-cured under UV light for hardness and chemical stability. This step adds 20–40 minutes of hands-on time per batch.
Finish and decorate. Sand the layer lines, then paint, chrome, top-coat, or set stones exactly as you would any other nail enhancement. The printed part is a blank canvas — the artistry still happens at your desk.
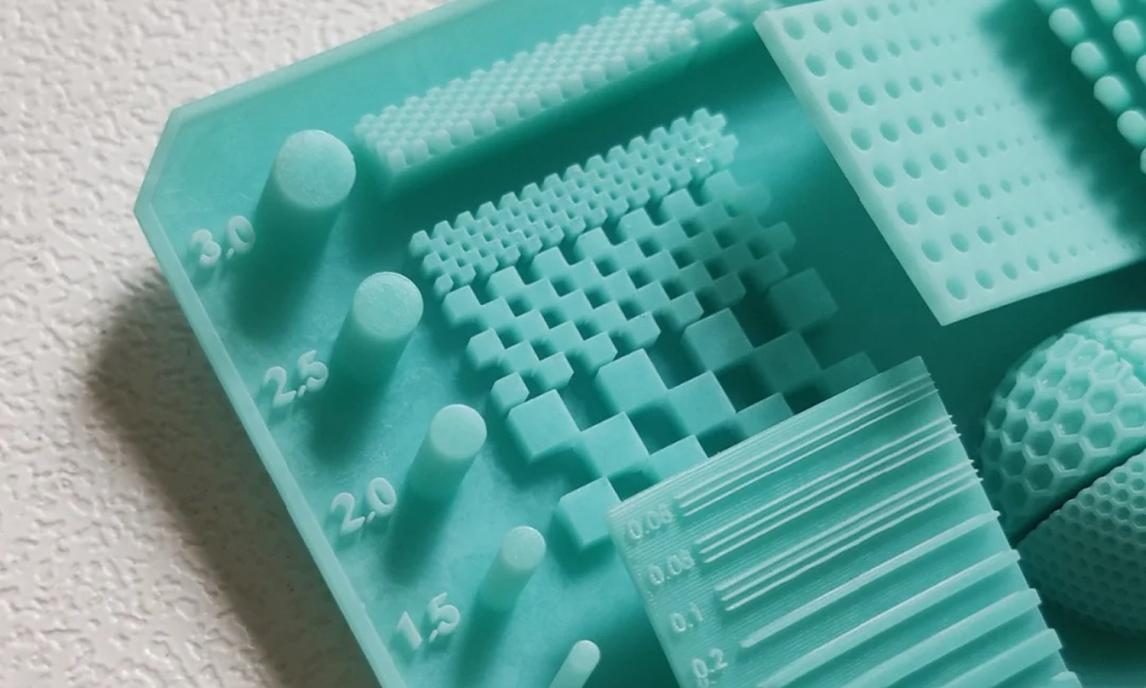
The small-studio shortcut: print the master, cast the copies. Most working studios do not print every set they sell. The efficient workflow is to print one high-quality master, make a silicone mold from it, and cast resin or acrylic copies in minutes. The printer is used for prototyping and master creation; the mold handles volume. This cuts per-unit time dramatically and reduces resin waste.
3. The Customization Edge: Where a Printer Earns Its Keep
Custom work is the one place a personal nail business can out-compete both the cheap import and the salon down the street. A printer amplifies that edge in four specific ways.
Fit is the first luxury. The number-one complaint about press-ons is poor sizing — a tip that does not match the nail bed lifts, feels uncomfortable, and gets returned. A scan-fitted or parametrically adjusted tip can match each client's nail width, length, and curve. That level of fit is impossible with off-the-shelf sizes, and clients will pay for it.
Geometry the hand struggles with. Thin lattice, perfect ten-finger symmetry, hollow forms, repeating texture, and even a client's name woven into a nail surface — these are designs that take hours by hand but minutes to modify in a 3D file. The printer does the repetitive precision work; you do the creative direction.
A design becomes a reusable asset. Once a shape or a fitted client model exists as a file, you can tweak it, reprint it, scale it, and sell variations without re-sculpting from scratch. A popular charm design can generate revenue for months with zero additional modeling time.
Geography stops limiting you. With a sizing kit or a guided photo process, a client anywhere can send measurements, receive a fitted set, and never step foot in your studio. This turns a local salon business into a mail-order custom brand.
4. Cost and Efficiency: Where the Math Works — and Where It Doesn't
The hardware is cheaper than most techs expect. 2026 buyer guides put a capable entry resin printer at about $150 for an Anycubic Photon-class machine, $250–350 for a mid-tier Elegoo or Phrozen with better resolution, and $500–800 for a high-resolution desktop unit with a larger build plate. Add a wash-and-cure station ($80–150), resin ($30–60 per liter), and consumables, and a complete starter setup is under $500.
Material cost per set is almost a rounding error. Ten nail tips weigh only a few grams; the resin in one set is on the order of $0.30–0.80. Even with supports, waste, and failed prints, you are looking at under $1.50 per set in raw material. The cost is not in the resin — it is in your time.
The honest time picture matters too. This is not instant nails. A plate still takes one to three hours plus wash, cure, and finishing. A fully custom fitted set — scan, model adjustment, print, post-process, decorate — can still take 3–5 hours of total labor. The savings come from repeatability: the second set from the same model takes a fraction of the first.
Now look at the revenue side. Handmade custom press-ons commonly sell from the mid-$20s to $60, with editorial, bridal, and runway sets going for $100–300+. If a printer lets you produce a fitted, textured set in 2 hours instead of 5, and you sell it for $50, your effective hourly rate jumps from $10 to $25 — before you even count the design library you are building.
5. The Market: Why This Is Happening Now
The category a printed nail feeds into is genuinely growing. Fortune Business Insights sized the global press-on market at $1.4 billion in 2024 and projects a 7.5% CAGR through 2032. The custom and luxury segment is growing faster than the mass segment, as clients increasingly want sets that fit their exact nail beds and reflect their personal style rather than a one-size-fits-all drugstore pack.
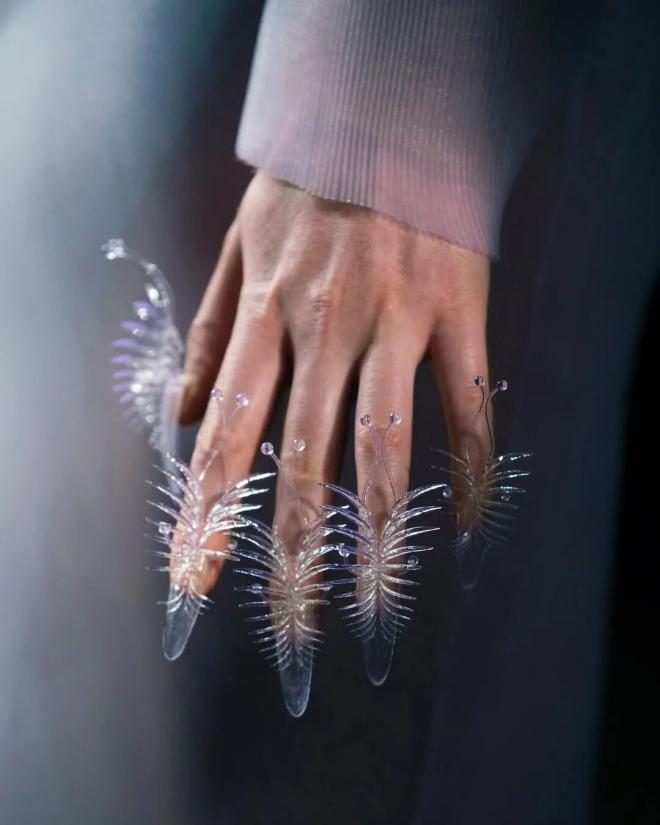
High fashion keeps validating dimensional and printed nails. The Iris van Herpen Fall 2026 couture show combined hand-built sculptural nails with 3D-printed feather-structure pieces, putting the technology in front of editors and celebrity stylists. When a runway look uses printed nails, it filters down to bridal, editorial, and eventually premium salon clients within 12–18 months.
Meanwhile the surrounding technology keeps getting easier. AR nail try-on uses computer vision to segment each nail on a hand and overlay a design in real time. AI tools can generate a 3D nail model from a reference photo in minutes, not hours. Sizing apps guide clients to photograph their hands with a reference card, producing measurements accurate enough for a fitted press-on. The barrier to entry is dropping every quarter.
The realistic forecast is not revolution. 3D printing will not replace hand manicuring any more than the UV lamp or the electric file did. It will become another tool on the desk — one that handles the repetitive, geometric, fitted work while the tech focuses on artistry, client relationship, and finishing. The studios that adopt it well will not be the ones who print everything; they will be the ones who print the right things.
6. The Real Challenges: Skill, Cost, Acceptance — and Safety
The skill barrier is real. Nail techs are trained as hands-on artists, not CAD operators. Parametric modeling, support placement, resin exposure settings, and layer adhesion are a new vocabulary. The learning curve is real — expect 20–40 hours of practice before you are producing consistent, sellable parts. Free tools like Blender, Tinkercad, and Meshmixer lower the cost of entry, but they do not eliminate the learning.
The hidden costs add up. Resin has an odor and needs ventilation; the LCD screen and FEP film are consumables; resin ages in the tank and needs filtering or replacement; isopropyl alcohol for washing is a recurring expense; and failed prints eat material. Budget $20–40 per month in consumables for a part-time operation, more if you are printing daily.
Customer acceptance takes education. Some clients hear "printed" and think cheap plastic. Some simply prefer knowing a human hand built every curve. The pitch that works is not "we use a 3D printer" — it is "we use 3D printing to get your fit exactly right and create designs no one can sculpt by hand." The technology is invisible in the finished set; the result is what sells.
7. What This Means for a Solo Tech, a Small Studio, or a Custom Service
The healthy way to think about it is division of labor. Let the machine do what machines are good at — repeatable structures, perfect symmetry, fitted geometry, and masters for molding. Keep the hand work where it adds the most value: finishing, painting, stone setting, client consultation, and the creative direction that makes your work recognizable.
Three entry paths match three levels of risk:
Lowest risk — charms and molds
Print raised accents and structural charms, or print a master and cast silicone molds for resin copies. Total investment under $300. You are not replacing your existing service — you are adding a product line you can sell alongside it. If it does not work, you are out the cost of one machine.
Mid-level — parametric custom press-ons
Build a small library of tip shapes, take client measurements, and print fitted sets. Investment $400–700. This is where the fit advantage becomes a real selling point, and where you can start building a mail-order client base beyond your local area.
Advanced — scan-fit originals and a brand
Add photo or scan fitting, original sculptural designs, and sell a recognizable signature look at premium pricing. Investment $800–1,500+ plus ongoing software. This is the path for techs who want to build a brand, not just a service.
If you want a concrete first 30 days: learn one free CAD tool well enough to alter a nail-tip model; buy a $150–300 entry resin printer and a wash-and-cure station; print 10 test sets, break them, reprint them, and figure out your settings; then offer printed custom sets to five existing clients at a 20% "beta" discount. Their feedback tells you whether this is a tool worth scaling.
Done that way, 3D printing is a real edge for a personal nail business in 2026 — a way to take the complicated, fitted, repetitive work off your hands and put it on a machine that runs while you sleep. It is not a replacement for skill. It is a multiplier for it.